Step-by-Step Guide to Calibrating Submersible Level Transmitters
1. Gather the Necessary Tools and Equipment
Before beginning the calibration process, ensure you have the following:
- Calibration test equipment (calibrator or pressure gauge)
- Manufacturer’s manual for reference
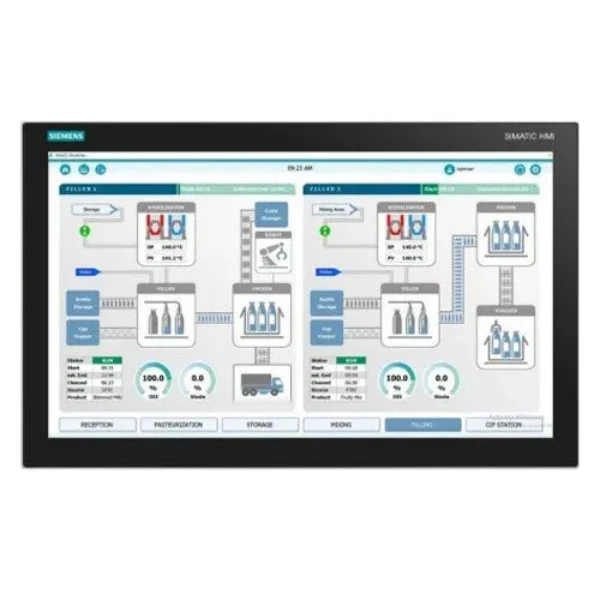
- Necessary software, if the transmitter supports digital calibration
- Clean water for testing (if applicable)
2. Inspect the Transmitter and Installation Site
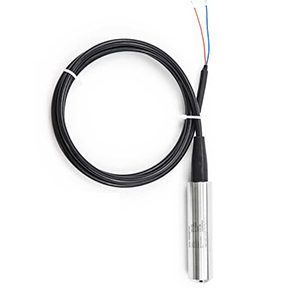
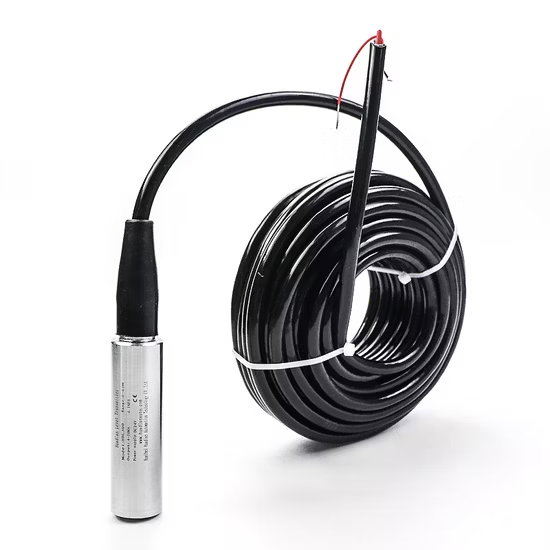
Begin by inspecting the transmitter for any physical damage, dirt, or debris. Clean the transmitter if necessary, as accumulated grime can affect readings. Verify that the installation site is clear and that the transmitter is properly mounted.
3. Record Baseline Readings
Connect the transmitter to the calibration equipment and record its current readings. Compare these to known reference points to determine if there is any deviation.
4. Perform Zero-Point Calibration
Zero-point calibration ensures that the transmitter provides accurate readings when submerged at a known depth with no pressure. Lower the transmitter to a depth of 0 meters or a predefined zero point in the water tank, then adjust its output to match the expected pressure or level reading.
5. Full-Range Calibration
This step involves calibrating the transmitter across its entire operating range. Submerge the transmitter to various depths, each corresponding to a known pressure or level, and adjust the transmitter’s readings to match these reference points. This ensures accuracy throughout its entire measurement range.
6. Validate and Recalibrate if Necessary
After calibration, validate the readings by comparing them with known reference values. If discrepancies persist, repeat the calibration process until accurate readings are achieved.


